MakeyMakey Extension Module
Type: Sensor
Measures: Contact
Inventory: 5 units, 1 prototype
Pins: optional A0-5, D4-6, D8-11, SCK, MISO, MOSI
This extension allows to use BRIX₂ as a MakeyMakey (http://www.makeymakey.com/)
Hardware
Pin Mapping
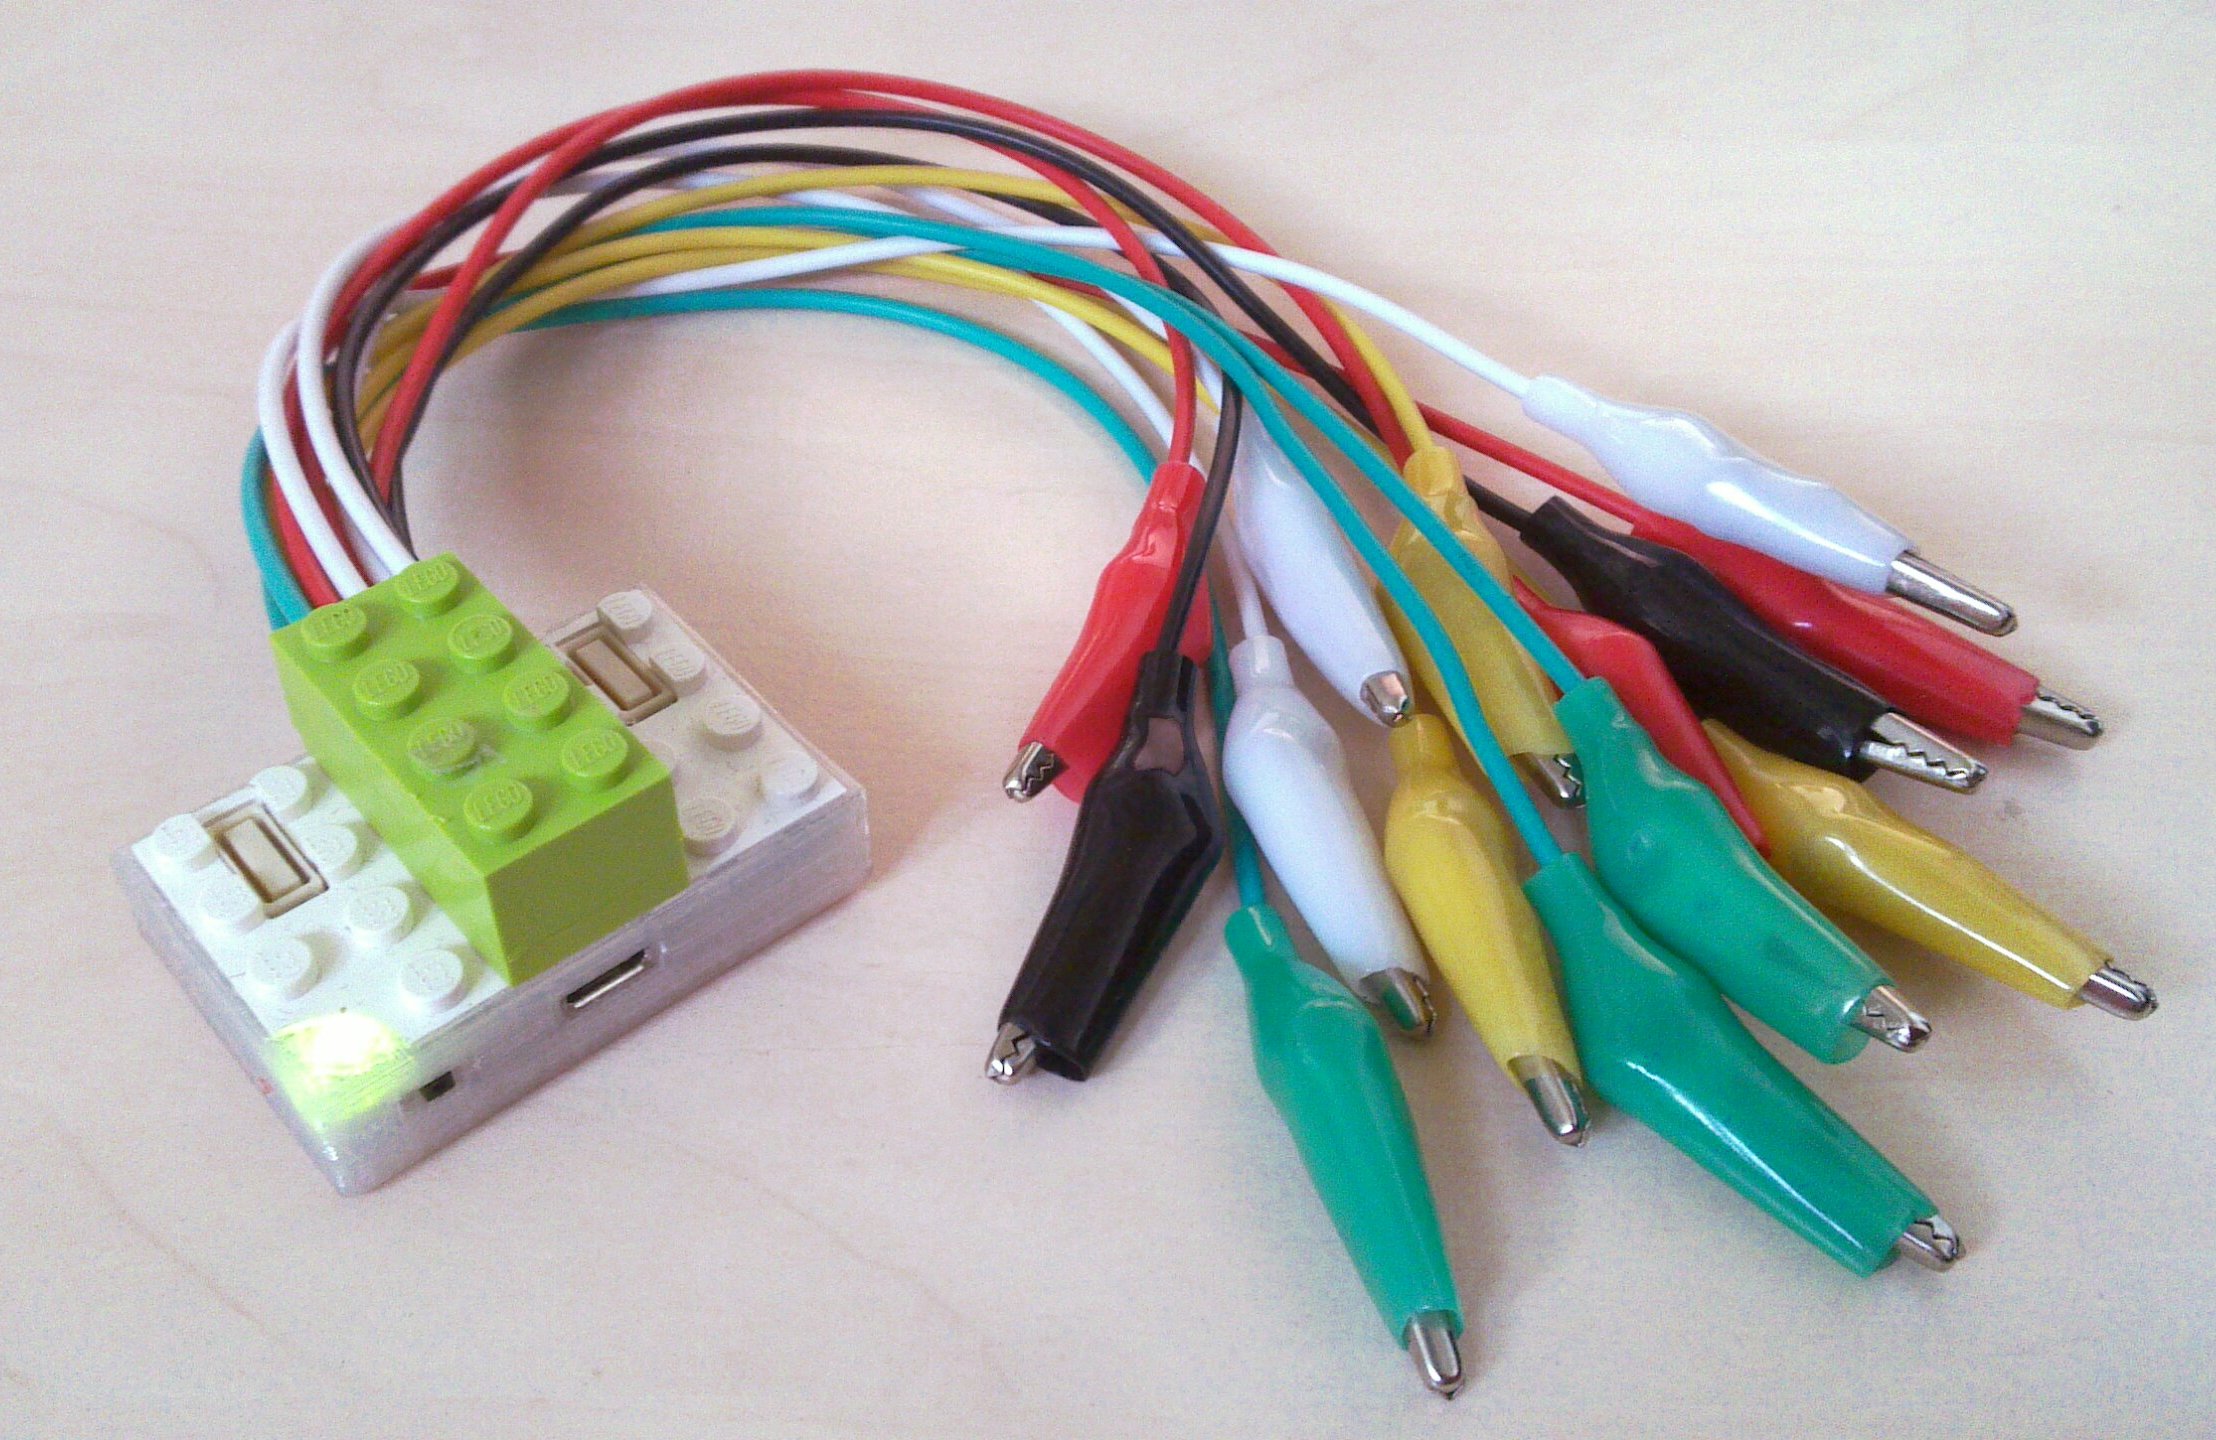
The Makey Makey Extension has 5 different colors of wires with alligator clamps attached. The black wires are ground. Actually you need just one of those, the other one is a spare ground connection. The red wires are attached to pins A3-A5. The yellow wires are attached to pins A0-A2. The green wires are attached to pins 14-16. The white wires are attached to pins 4-6. You'll figure out the rest.
Sketches
So there is a Makey Makey Basic example in the LiBRIX2 examples folder and that is basically all you need. In order to modify the example, here's a few tweaks you can do:
Number of Inputs
If you do not want to use all inputs, maybe because you want to use other Extension Modules that might be disturbed, you can reduce the number of inputs. You'll have to to two things:
- In the first tab, change
#define NUM_INPUTS 12to whatever number from 0-12 you like. - Go further down and edit the line
int pinNumbers[NUM_INPUTS] = {A0,A1,A2,A3,A4,A5,4,5,6,14,15,16};. That array maps the input lines (see MakeyMakey_Extension_Module) to the channels of the Makey Makey. Example: You only want to use the three red wires.#define NUM_INPUTS 3,int pinNumbers[NUM_INPUTS] = {A3,A4,A5};.
Remap the Keys
In order to remap the keys, go to the second tab (settings.h) and fill the array int keyCodes[NUM_INPUTS] = {} with the keycodes you want. Let's type "ABC" with the red wires: int keyCodes[NUM_INPUTS] = {'A','B','C'};. There we go. Other keycodes for special keys and for moving the mouse cursor can be found in the example.
Application Examples
Just watch the video: https://www.youtube.com/watch?v=rfQqh7iCcOU
Status: Tested, Working