Infrared Extension
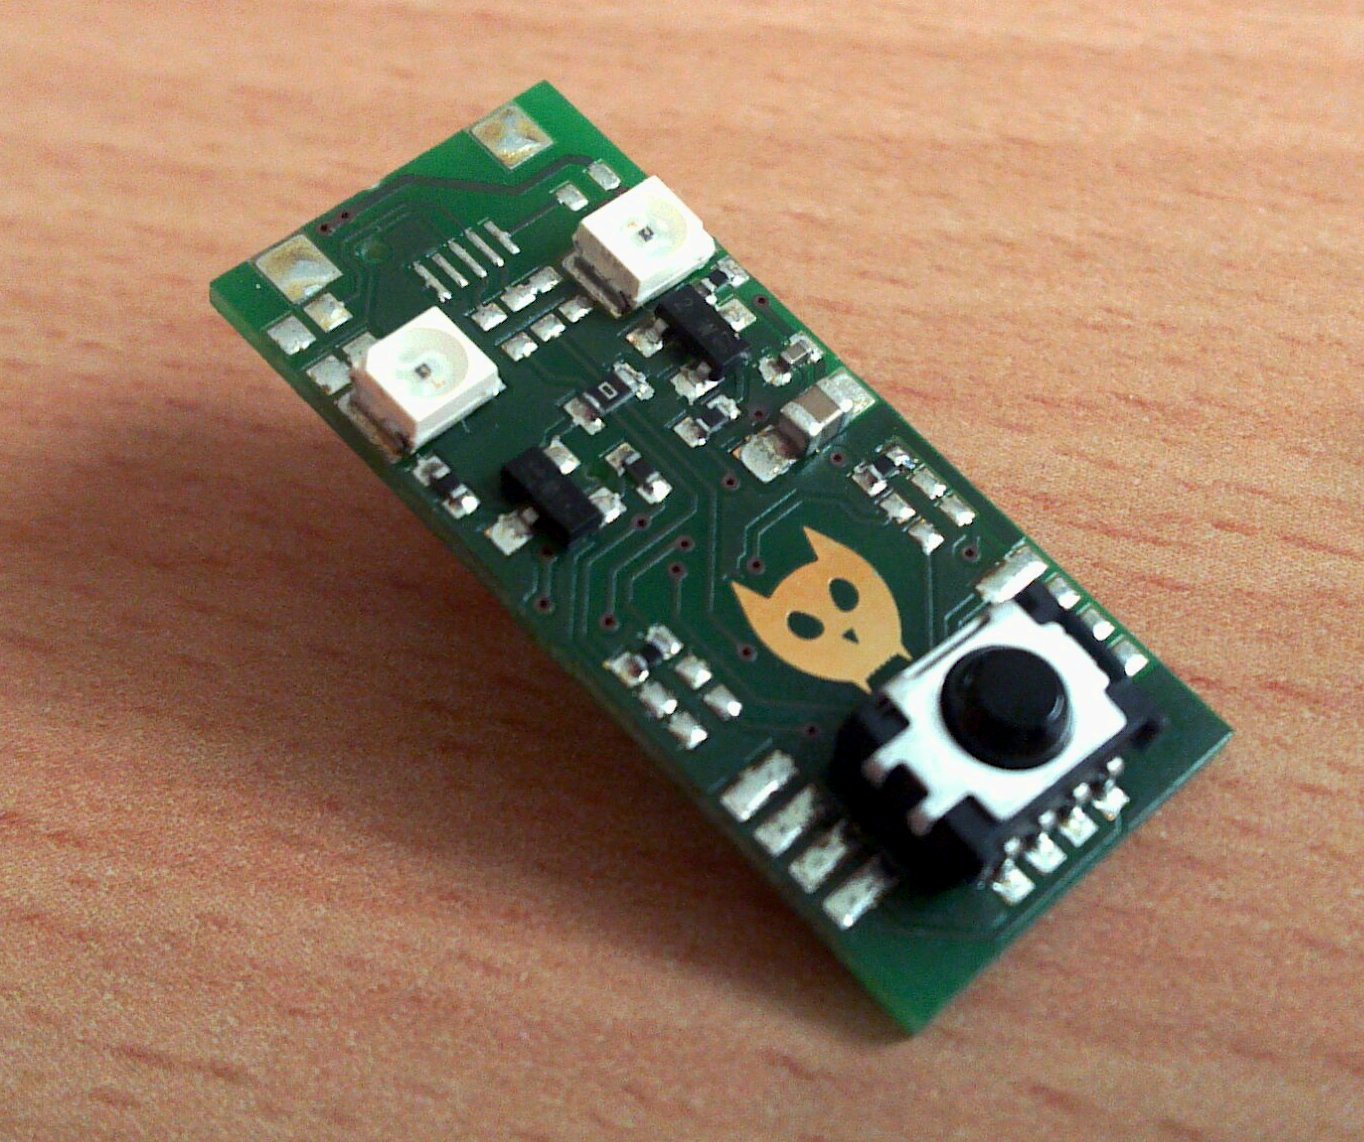
Type: Infrared Transceiver
Inventory: 3 units, 1 prototype
Pins: Sender: D5 (optional D9), Receiver: D9 (optional D10 or D11)
This extension allows infrared communication with a BRIX₂ module. It can be used to send or to receive infrared data. Turn on your TV with BRIX₂ or turn on your BRIX₂ with a TV remote control.
How to Control a BRIX₂ Application with (almost) any IR Remote Control
First it is important to know that there are a LOT of different IR protocols and codes out there and some of them might just not work for you. If you experience a lot of problems, try using a different type of remote. In testing for example, we had one remote that gave another code each time the SAME button was pressed.
Mapping the Buttons
In order to control a BRIX₂ application with a remote, you have to find out which code is received by BRIX₂ when you press a certain button. Copy this sketch, upload it to your BRIX₂ module with attached Infrared Extension:
#include <IRremote.h>
#include <BRIX2.h>

BRIX2 myBrick;

int RECV_PIN = 9;
IRrecv irrecv(RECV_PIN);
decode_results results;

void setup()
{
  Serial1.begin(38400); //this is absolutely required in order to use the system functions!
  Serial.begin(9600);
  myBrick.initialize();
  myBrick.statusLedOff();
  irrecv.enableIRIn(); // Start the receiver
}

void loop() {
  if (irrecv.decode(&results)) {
    myBrick.setRGB(0,255,0);
    Serial.print("uint32_t button = 0x");
    Serial.print(results.value,HEX);
    Serial.println(";");
    delay(50);
    myBrick.setRGB(0,0,0);
    irrecv.resume(); // resume receiver
  }
}
When you point your remote control at the BRIX₂ module and press a button, the green LED should flash. This tells you that the infrared signals are picked up by BRIX₂. It's also a great way to do range-tests. Now if you open the Serial Monitor and press a couple of buttons, you will get something like this:
uint32_t button = 0xE0E050AF
uint32_t button = 0xE0E0B04F
uint32_t button = 0xE0E0CE31
uint32_t button = 0xE0E0A45B
uint32_t button = 0x4592E14C
uint32_t button = 0xE0E026D9
uint32_t button = 0xE0E0B04F
uint32_t button = 0xE0E028D7
uint32_t button = 0xE0E0708F
uint32_t button = 0xE0E0B04F
uint32_t button = 0xE0E07C83
uint32_t button = 0xE0E036C9
uint32_t button = 0x5FB355AA
uint32_t button = 0x90E8275D
uint32_t button = 0x504A123F
These are the codes sent by your remote for different keys. Two notes on that: First, it might occur that you get a 0xFFFFFFFF. This is not a valid keycode and most likely happened when you hold key pressed. Secondly, some remotes will give you two numbers when you press a button and the second one will always be the same. That is a release code which is sent as soon as you release the button. You can just ignore it.
As you can see keycodes are a usually unsigned 32 bit integers.
Reacting to Keycodes
So now that you can find out how to get the key codes, we can use them in a simple application (LiBRIX2>Examples>Extensions>Infrared_Extension>Remote_RGB_LED). Note that we just fill in the keys we obtained earlier as variables and compare them to the received keycodes:
#include <IRremote.h>
#include <BRIX2.h>

BRIX2 myBrick;

int RECV_PIN = 9;
IRrecv irrecv(RECV_PIN);
decode_results results;

// codes recorded from a samsung remote
uint32_t button1 = 0xE0E020DF;
uint32_t button2 = 0xE0E0A05F;
uint32_t button3 = 0xE0E0609F;

void setup()
{
  Serial1.begin(38400); //this is absolutely required in order to use the system functions!
  Serial.begin(9600);
  myBrick.initialize();
  myBrick.statusLedOff();
  irrecv.enableIRIn(); // Start the receiver
}

void loop() {
  if (irrecv.decode(&results)) {
    uint32_t received = results.value; // obtain keycode
    if(received == button1) myBrick.setRGB(255,0,0); //buttons set LED colors
    if(received == button2) myBrick.setRGB(0,255,0);
    if(received == button3) myBrick.setRGB(0,0,255);
    else {
    };
    // note: ideally you would use a case/switch statement for this
    // (http://www.arduino.cc/en/Reference/SwitchCase)
    irrecv.resume(); // resume receiver
  }
}
Now using the keys 1, 2, 3 on the remote, we can control the RGB LED. To make this work with your remote, you just have to fill in the correct keycodes.
Reference:
http://www.righto.com/2009/08/multi-protocol-infrared-remote-library.html
http://arduinostuff.blogspot.de/2011/06/samsung-remote-ir-codes.html
Developer Information
Experiments
Using the IR extension as a sender is in general only possible on Pins 9, 13 and 5. I used Pin 9 in my initial experiment. The file IRremoteInt.h in the IR library folder:
// Teensy 2.0#elif defined(__AVR_ATmega32U4__) #define IR_USE_TIMER1 // tx = pin 14 //#define IR_USE_TIMER3 // tx = pin 9 //#define IR_USE_TIMER4_HS // tx = pin 10
The pin numbers stated in that section of the file refer to Teensy pin numbers and do not correlate with the Arduino Leonardo pin numbers!!!
TIMER3 will result in pin 5 and TIMER4_HS to pin 13 at the Arduino.
As a sketch, I used the rudimentary example in the LibBRIX example folder. I added the raw codes from our Samsung TV. The codes were captured using the IRrecieverDump example from the IR lib folder.
If you capture codes with that tool, you will probably get some negative values. If you define your own codes like I did in the sender example, you have to remove the minus signs.
Design Considerations
http://de.farnell.com/vishay/tsop6438tr/ir-empfaenger-smd-agc4-38khz/dp/2251403
http://de.farnell.com/vishay/vsms3700-gs08/ir-emit-std-950nm-plcc2/dp/1779763
https://learn.sparkfun.com/tutorials/ir-control-kit-hookup-guide/all